Printed Enclosures That Leave the Bench
Why This Is Worth Doing At All
A prototype that cannot be installed is a prototype that has not told you anything. The measurement is only interesting under real conditions, on the real wall, in real weather, and getting there means a housing.
Buying one means finding something the right size, waiting for it, and then discovering the cable entries are in the wrong place. Having one machined means a quotation and a fortnight. Printing one means an evening of drawing, a night on the printer, and the device on site the following morning. When the design is still moving, that difference in cycle time is worth more than the part quality, because you will print four revisions in the time it takes to receive one purchased box.
The trap is treating the prototype enclosure as the production one. Print for the bench and the pilot; decide deliberately what happens after that.
The Material Decision Is Most of It
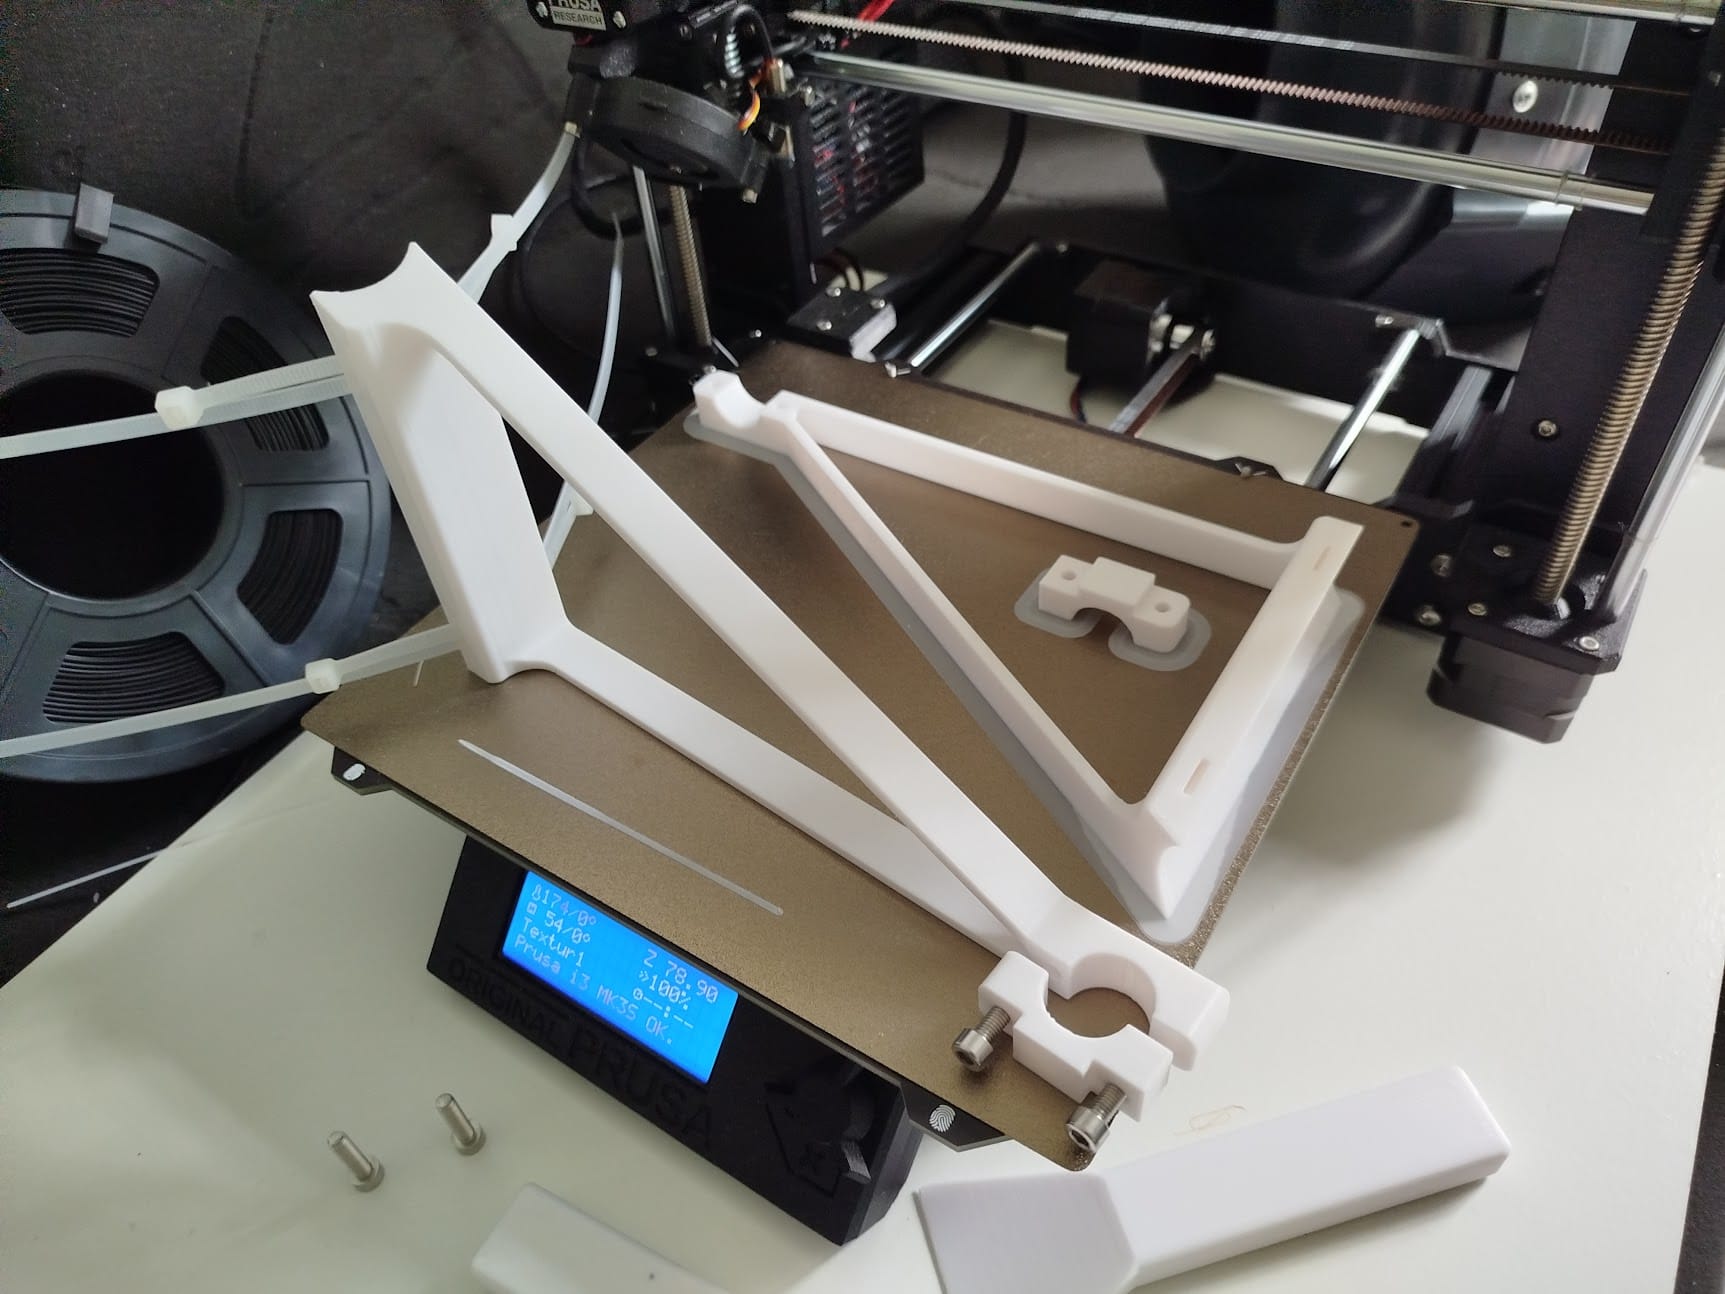
Almost every disappointing outdoor printed part traces back to filament chosen for how easy it was to print rather than for where it was going.
PLA is the default on every printer and it is the wrong answer for anything that leaves a desk. It softens at temperatures a closed enclosure reaches in summer sun, and it degrades under ultraviolet. A PLA box on a south-facing wall will deform and go brittle, and it will do so slowly enough that nobody connects the failure to the material.
PETG is the usual next step and it is genuinely better: tougher, more heat tolerant, and reasonably forgiving to print. Its weakness is ultraviolet, where it holds up moderately rather than well, so it suits indoor and sheltered installations more than fully exposed ones. It is also hygroscopic enough that filament left open will print badly, which is worth knowing before blaming the printer.
ASA is what I use for anything outdoors, and the reason is specifically ultraviolet stability. It is close to ABS mechanically and it does not chalk and embrittle in sunlight the way ABS does, which is the failure that matters over a three-year deployment. The cost is that it wants a heated chamber or at least an enclosed printer to avoid warping and layer splitting, and it produces fumes that need extraction. Neither is a reason to use something else for a part that has to survive.
The two specialist cases worth knowing: a flexible filament prints gaskets and strain reliefs that would otherwise have to be sourced, and carbon fibre filled filaments are strong, dimensionally stable and must never go near an antenna, because the fibre is conductive and will detune or block the radio. That last one has caught more people than it should, because the part looks fine and the range is simply poor.
Printed Parts Are Not Watertight
This is the assumption that produces most of the field failures, and it needs stating directly: a printed enclosure is not sealed.
The reason is structural rather than dimensional. A printed wall is a stack of extruded layers bonded to each other, and the bond between layers is never quite complete. Water finds those microscopic paths and wicks through them, slowly, and a part that looks perfectly solid will be damp inside after a season of rain. Turning the walls up to four or more perimeters and printing hot enough for good layer adhesion helps considerably and does not make it a sealed box.
There are three honest approaches.
The first is to accept it and design for drainage instead of sealing. A drain hole at the lowest point, a labyrinth over any opening, and electronics conformally coated or potted. This works well for parts that will get wet and must not accumulate water, which is a different requirement from staying dry.
The second is to print a gasket channel and fit a real seal, either an O-ring cord or a printed flexible gasket, with enough fasteners to compress it evenly. This gets meaningfully closer to a sealed box and the weak points move to the cable entries, which need proper glands rather than printed holes.
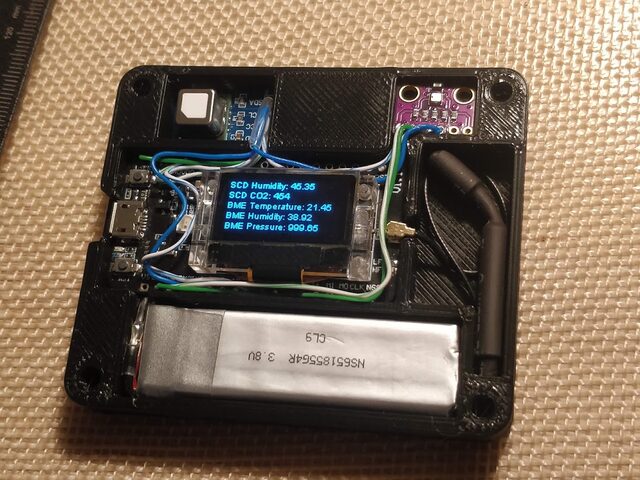
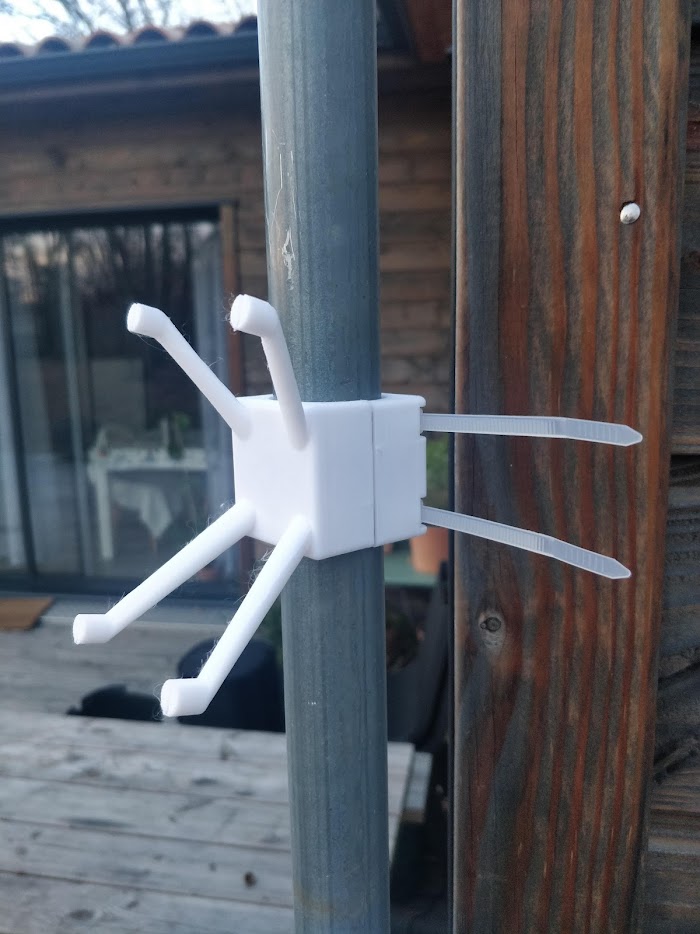
The third, and the one I reach for most often on anything that has to work for years, is not to print the sealed part at all. Buy a commercial rated enclosure, which costs very little and has a moulded gasket and certified glands, and print the things it cannot give you: the internal chassis holding the board, the sensor mount, the bracket that fixes it to a pole at the angle the site requires. That combination gets a real ingress rating and a part shaped exactly for the job, which is the best of both and is usually cheaper than iterating a printed box until it stops leaking.
Print the geometry nobody sells. Buy the seal. Almost every enclosure problem I see comes from trying to make a printed part do the job of a moulded gasket.
Designing for How It Prints
A printed part is not isotropic, and designing as though it were is what produces parts that snap.
Layers bond to each other less strongly than the material bonds to itself within a layer. That makes the part directionally weak, and the weakness is always perpendicular to the layers. Orient so that loads run within the layer plane rather than trying to pull layers apart. The classic failure is a screw boss printed standing up, which splits along its layers the first time somebody tightens a fastener properly.
Which leads to fasteners generally. Screwing directly into printed plastic works once or twice and then strips, and threads printed into a part are coarse and fragile. Heat-set brass inserts are the answer, pressed in with a soldering iron: a few cents each, a few seconds each, and they turn a printed part into something that can be assembled and disassembled repeatedly without degrading. Any part that will be opened in the field should have them.
Dimensional behaviour needs allowing for too. Holes tend to come out slightly undersized, the first layer spreads under pressure and leaves a lip at the base, and different printers and materials shrink differently. Leave a couple of tenths of a millimetre of clearance on anything that has to slide together, chamfer the bottom edge to absorb the spread, and print a small test coupon with the actual fit features on it before committing eight hours to a full enclosure. That test print costs twenty minutes and saves a night.
The Enclosure Is Part of the Measurement
An enclosure around a sensor is not neutral, and three of its properties change what the device reads.
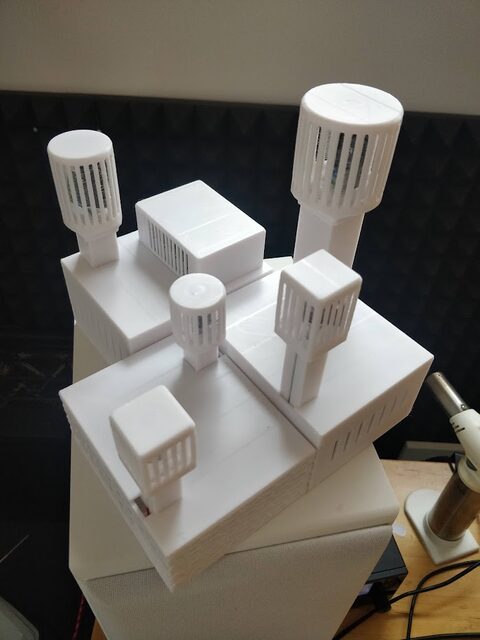
It has thermal mass and it absorbs sunlight, which is why a sensor in a sealed box measures the box rather than the air. Vent slots on opposing faces, a light colour, and thought about where the sun falls are all measurement decisions rather than styling ones. The full treatment is in the piece on thermal decoupling, and it applies as much to the housing as to the board.
It outgasses. A freshly printed part releases volatile compounds for some time, and a humidity sensor sealed in with it will absorb them and drift. Letting parts cure in air before assembly costs nothing but patience and prevents a class of problem that is very hard to diagnose later.
And it sits between the antenna and the world. Plastic is largely transparent to radio at these frequencies, which is why printed enclosures work at all, but a carbon-filled filament is not, metallic paint is not, and a large ground plane inside the box will still shadow the antenna whatever the housing is made of. Leave clearance around the antenna, keep the fill setting modest in the region it radiates through, and test the range with the lid on rather than off.
When to Stop Printing
Printing is right for prototypes, for small numbers, and for geometry that does not exist commercially. There are four situations where continuing is a mistake.
Volume is the obvious one. Somewhere in the low hundreds the arithmetic turns over and injection moulding becomes cheaper per part, with better tolerances and material properties. The tooling cost is real and so is the lead time, and the crossover point moves with part size, but past a certain quantity printing is no longer economising.
A certified ingress rating is another. If a specification requires a tested rating, that comes from a tested enclosure with a certificate, and a printed part cannot supply one however well it performs.
Sustained structural load at temperature is a third. Printed parts creep under continuous load, more so when warm, and a bracket holding weight on a sunny wall will slowly deform in a way that a bench test over an afternoon will never reveal.
The fourth is anything in contact with food, water for consumption, or a medical application, where the layer structure is difficult to clean and the material approvals generally do not exist.
What I Provide
Enclosure work is part of building a device rather than a service on its own, and it usually looks like this: draw the part, print it overnight, take it to the site the following day and find out what is wrong with it, then revise. Two or three cycles produces something that fits the actual pole, clears the actual solar panel and puts the cable entry where the cable actually comes from, which is a set of constraints no catalogue part satisfies.
Where the deployment will run for years I generally end up with a bought rated enclosure and printed internals, and I will say so rather than iterating a printed box toward a seal it will not achieve. The design files come with the project like everything else, so the next bracket can be printed by whoever needs it without involving me.
Does this describe your project?
If any of the above sounds like something you are dealing with, tell me about it. You will get a straight read on the right approach for your situation, and the first conversation costs nothing.
Start a conversationPrefer to see the finished thing first? There is one running on real devices